
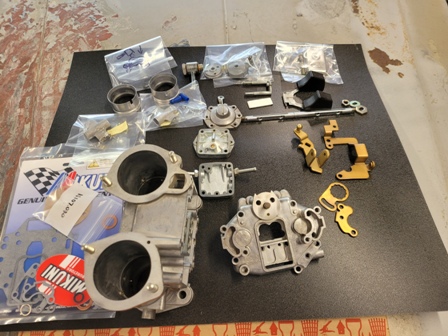
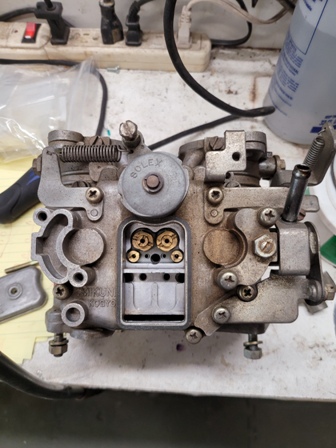
Mikuni Solex 44 PHH (6 Mar 2021)
So, I have the correct early style Solex's that came with this car, but have read and heard the later type are easier to work with for the jet blocks and the external float adjustment.
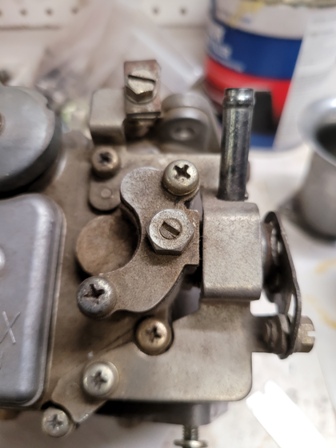
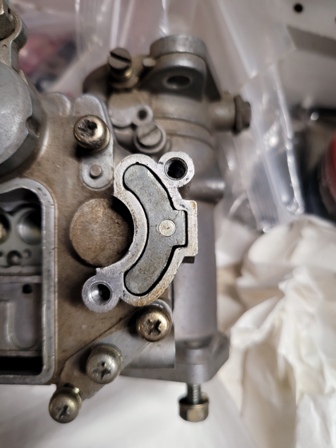
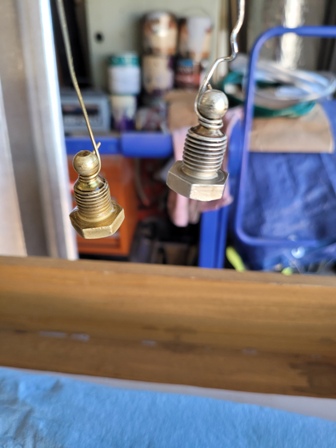
Float Adjuster (6 Mar 2021)
The small center screw with lock nut adjusts the float up or down.
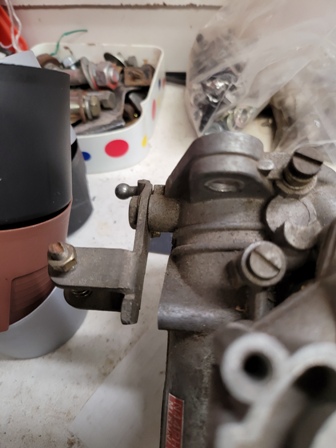
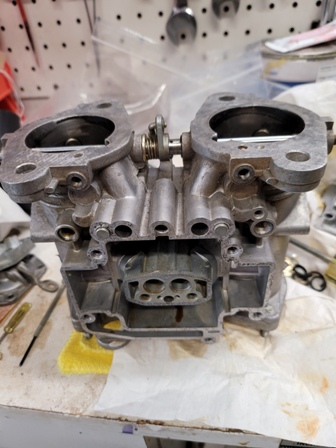
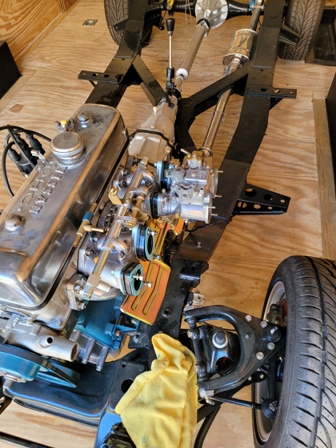
Rear Carb (6 Mar 2021)
Throttle linkage for the rear carb.
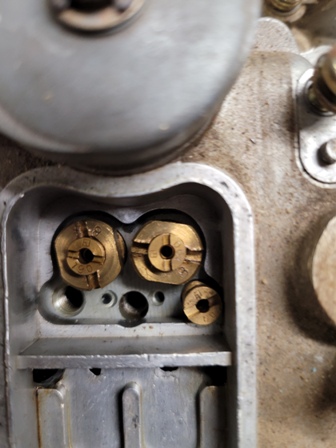
Jets (6 Mar 2021)
The emulsion tubes have seperate jets for adjusting (main air, pilot jet, main jet).
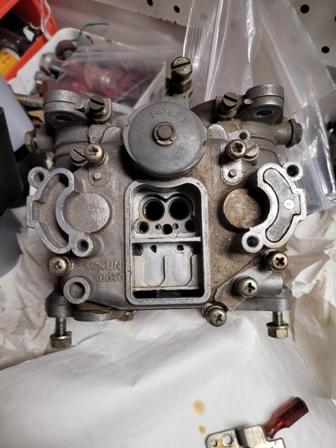
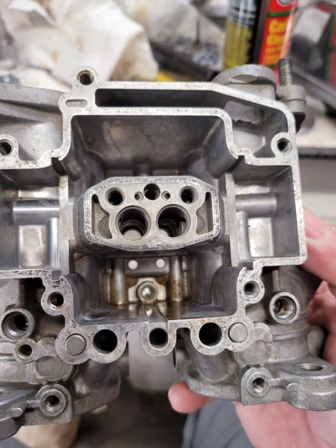
Jet Blocks Out (6 Mar 2021)
Float holder (6 Mar 2021)
This holds the float with a pin across the bottom and is forced up with a spring. The adjuster shown earlier pushes down against this spring plate.

Pump Nozzles Out (6 Mar 2021)
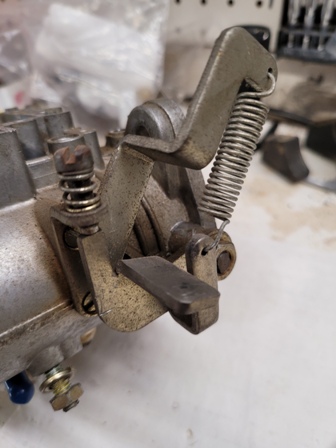
Butterfly Shaft (6 Mar 2021)
So to get the butterfly shaft out you need to remove a c clip and then the accelerater pump arm is held on by a pin through the shaft (held in place by the spring shown).
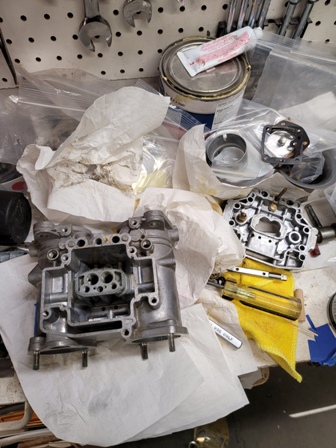
Stripped (6 Mar 2021)
Ready for cleaning.
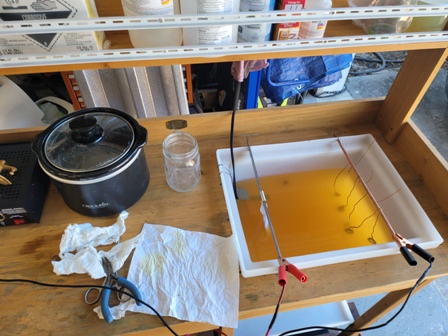
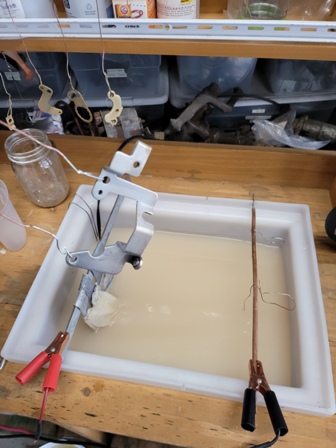
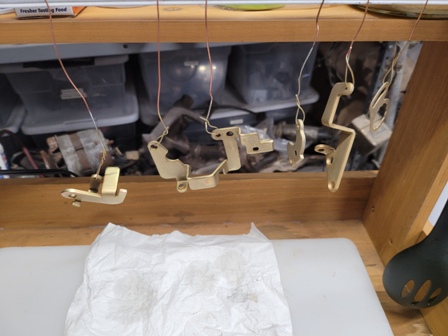
Plating Station (7 Mar 2021)
I was using a simple Eastwood Zinc home plating system, but with so many small parts to do I set up a plating station with Caswell supplies and Youtube videos.
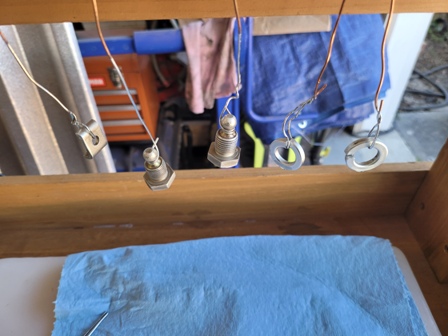
Zinc (7 Mar 2021)
Zinc Plated
.
Dichromate Dip (7 Mar 2021)
To get that yellow Cad Plated look you can use a Copy Cad solution or a Dichromate solution (with/without).

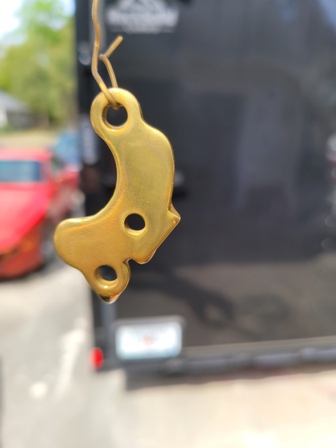
Results (7 Mar 2021)
So this is how they turn out. I'll let them dry a few days and reassemble.
Zinc (7 Mar 2021)

Dichromate Color (7Mar 2021)
You can almost see the color hues. It gives that nice rainbow look depending on the lighting.
Sunlight (7 Mar 2021)
You can see a little better out in th sun.
Ready for assembly (13 Mar 2021)
With a new rebuild kit for the accelerator pump and new gaskets it's time to reassemble.
Assembly (13 Mar 2021)
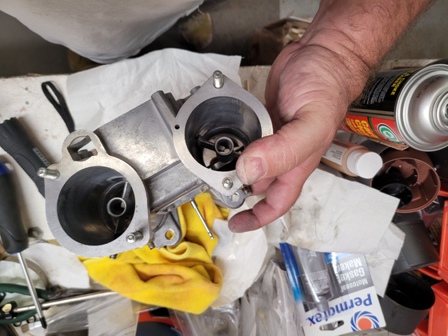
Venuri's (13 Mar 2021)
Installing inner and outer venturi's. The pump nozzles are installed and allow the outer venturi's to allign.
Butterfly Shaft (13 Mar 2021)
While some may not remove the butterfly shaft. The rebuild kit has the 4 seals that wear and allow air to suck in along the shaft. Replacing with new seals while it's all apart just makes sense. Also the pump arm has multiple holes that allow for adjustment. I have mine in the center hole.
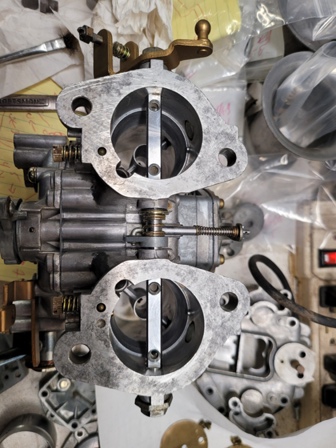
Front Carb (13 Mar 2021)
Same steps.
Front Throttle Linkage (13Mar 2021)
Throttle linkage for front carb.

Stripping Down (13 Mar 2021)
Repeat of Steps (13 Mar 2021)

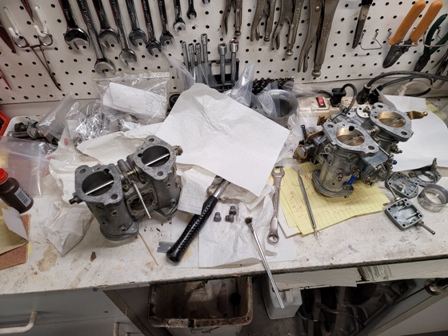
Using Rear Carb as Model (20 Mar 2021)
Copying completed rear carb to assemble front carb.
Hardest Part Complete (20 Mar 2021)
Installing the butterfly shaft is probably the hardest part of assembly.

Insulators On (21 Mar 2021)
Solex carb insulator blocks on.
Rear Carb. (21 Mar 2021)
Rolled the chassis back to the trailer and started bolting on the carbs.

Carbs Installed (21 Mar 2021)
Installed and moving forward for 1st run of new engine.